Getting some distance to things is sometimes useful. I haven´t spent much time online in the last few weeks, first I was busy preparing for my extended Christmas holiday, getting presents and cards all finished on time, then cleaning the house and packing my bags. When I landed in Finland, it was like coming to a completely different world. I turned off roaming on my phone and all of a sudden I was detached from all the usual communication that keeps me preoccupied. I still have wifi at my Mum´s of course, but the Culinary Consultant has taken over my computer so all I have is my iPad. And now Mum´s computer when I'm writing this, as typing long texts on a touchpad is more than my patience can handle.
I live so closely connected to the internet at home. I check my emails first thing in the morning, check facebook, blog, read blogs and then check the emails last thing before I go to bed. Not so when I'm in Finland. This is a holiday from everything that is routine. I don't have access to my craft room, and I don't need to cook. And I have also been thinking about my relationship to blogging. And how the food blog has become more of a chore than a fun hobby. Which is why I will take some time off to see whether I want to get back to it later in the year. Or whether I just want to focus on the card blog as there will be some more exciting announcements over there soon. So I don't know whether this will be my last blog post for a while or my last food blog post ever. If I do get back to blogging, I will update it on my facebook, twitter and Google+. But for now I wish everyone a wonderful, peaceful and food filled Christmas and a great New Year 2015, may it be even better than last year!!
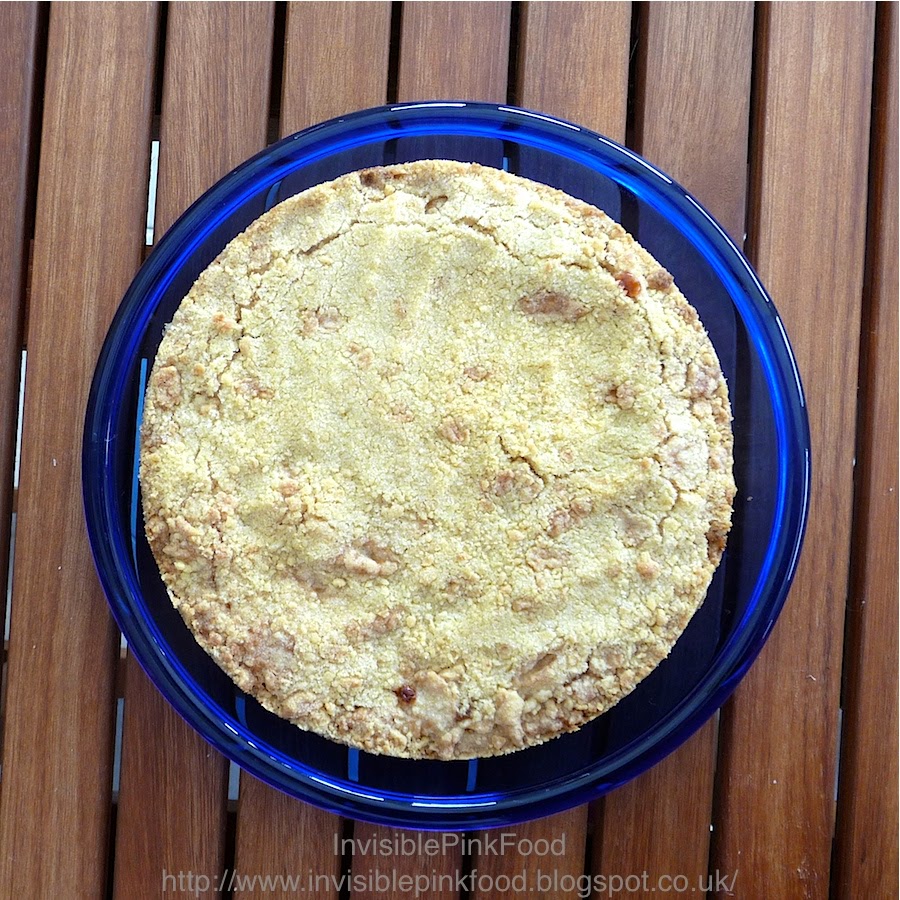
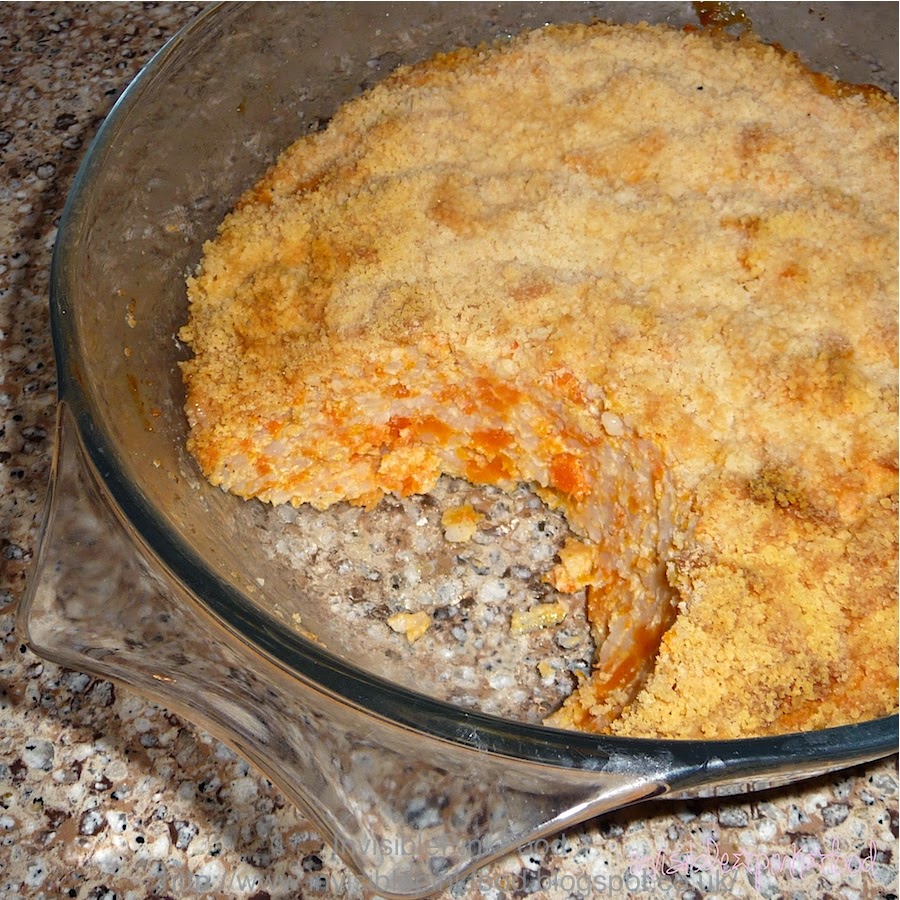
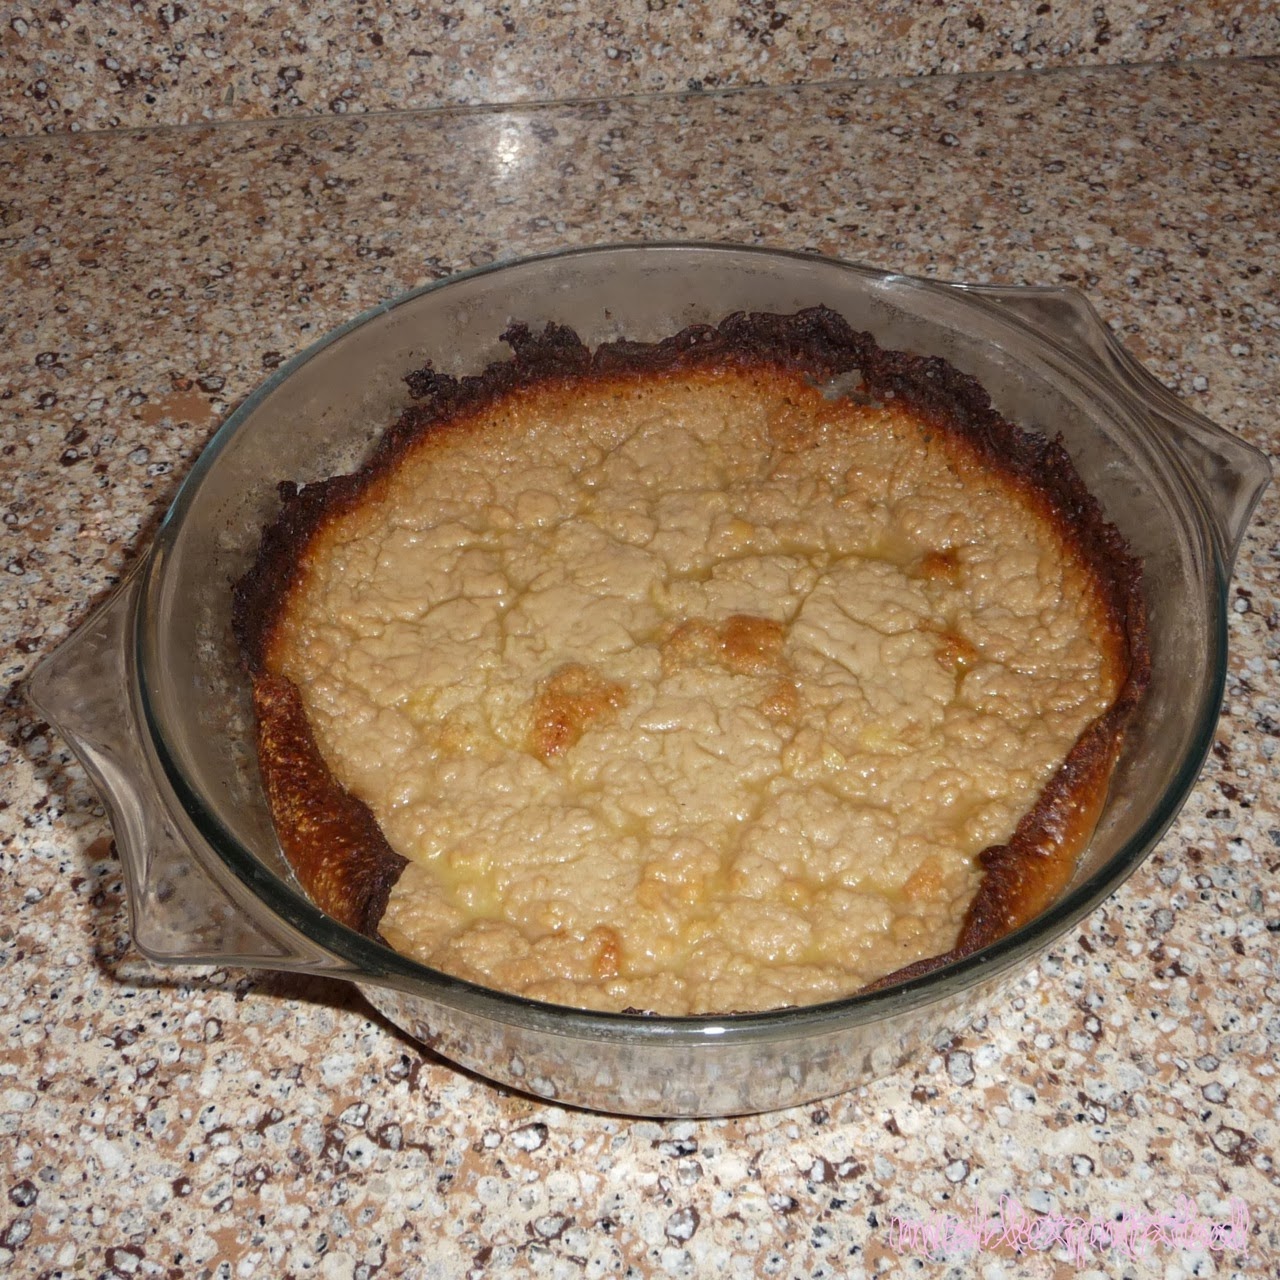
I will publish a food recipe as well. It's something super quick and easy to put together, bakes relatively quickly and it's absolutely delicious. The original recipe is from The English Kitchen, and it's for lemon curd shortbread. I thought my home made plum jam would be great substitute as it feels silly buying lemon curd when I have the fridge filled to the brim with home-made goodies. The plum jam is not very sweet and it has a slight sour/bitter flavour to it, just like marmalade has. That's why I love combining it with sweet pastry, it keeps the balance of the flavours, just as I imagine lemon curd would as well. So whether you have lemon curd, plum jam, orange marmalade or something else you want to use up, this shortbread is a great way of doing that.
Plum jam shortbread (serves 8):
225 g all purpose flour
125 g semolina or rice flour
125 g caster sugar
225 g chilled butter, cut into small cubes
200 g plum jam (or lemon curd, or whatever other jam/curd takes your fancy)
2 tbsp caster sugar
The howto:
Preheat the oven to 180 degrees C. Butter a 21 cm springform tin. In a bowl, mix together the sugar, flour and semolina. Add the cubed butter and rub with the butter into the flour until the texture of coarse sand. Press half of the mixture into the springform tin, and spread the jam on top. Mix the rest of the butter and flour mixture with the additional 2 tbsp sugar and spread the crumble topping onto the jam, pressing down lightly. Bake for 35-40 minutes, until the edges start to turn a bit golden. Let cool in the tin for about 10 minutes, then cut into eight slices.
The verdict:
This is a super easy treat you can whip up at any time as it only uses kitchen staples. Perfect for surprise guests. It's amazing how delicious it is, given that only very basic ingredients go in it. It's buttery and crumbly, and it's absolutely irresistible.